How to Wax Skis in 2024
- Meghan Gallary

- Feb 9, 2024
- 4 min read
Waxing your skis is essential if you hit the slopes often, as it will provide them with extra protection from scratches, rust, base burn, and getting dried out.
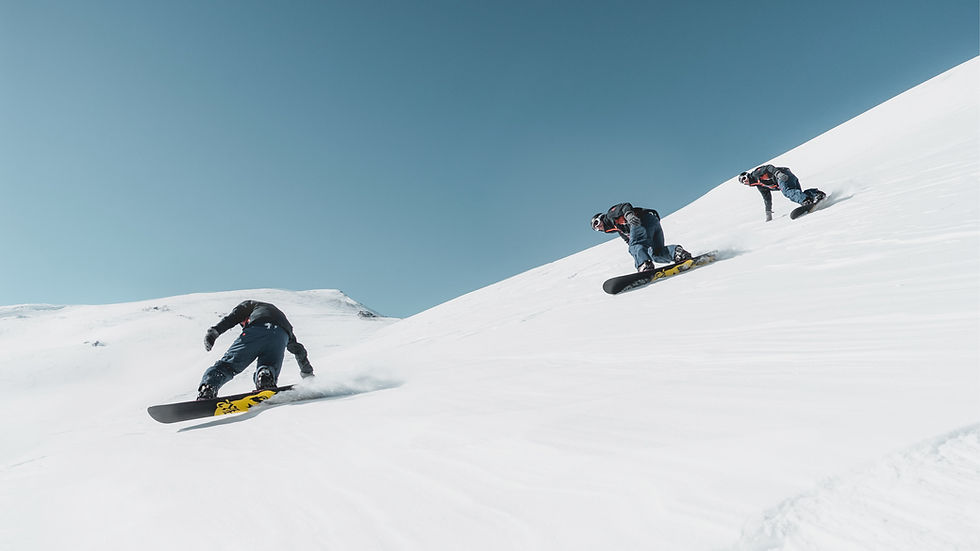
The lubrication also allows for smoother runs and a better ability to glide, both of which can help you pick up speed on your way down.
In this guide, we'll cover everything you need to know about waxing your skis.

What is Waxing Skis?
For a while, I was pretty certain the only sporting equipment that required wax were surfboards and hockey sticks, but as it turns out, the hydrophobic compound doesn’t solely allow for added traction – and in the case of skis, typically does the opposite.
This is contingent on whether the athlete is applying glide wax or kick wax since the ladder acts as a grip for cross-country skiers.
Supplies Needed to Wax Skis
Here are the supplies needed to wax skis.
Vise, workbench or waxing platform - to keep skis even and in place
Ski brake retainers - strong rubber bands to hold brakes out of the way
Plastic scraper - removes excess wax
Wax - either glide or kick
Waxing iron - produces even heat across base plates; different from regular household iron
Brush set - wire, nylon, horsehair
How to Wax Skis in 5 Simple Steps
Step 1: Set-Up
The first thing you’ll want to do before getting set up is lock your ski breaks up and out of the way.
Applying brake retainers, which are essentially extra-strength rubber bands, can help keep them in place.
Next, lay the first ski you’ll be waxing on your vice with the bottom facing upwards.
If you don’t have a vice you can get creative making two evenly raised platforms for the tip and tail of your ski to rest on.
These can be a stack of books or the backs of two chairs, so long as you feel your skis will remain sturdy and level.
Step 2: Cleaning Prep
Prior to adding new wax, it’s important to make sure you’re working with a clean slate.
To prep your first ski, remove old wax with your scraper, then apply rubbing alcohol to a hand towel and go over your base a few times.
This will ultimately help the wax stick better and last longer.
If your ski still looks dirty, grab your wire brush and start buffing. Continue until your base looks as clean as possible.
Step 3: Coating
Now you’re ready to wax!
To begin coating, give your waxing iron time to heat up.
Remember that a regular iron can burn both the wax and your skis, so it’s best to stick with what’s recommended.
You’ll know the waxing iron is at a good temperature when you can lightly press your wax against the heated surface and watch it quickly turn to liquid.
If the wax starts smoking at any point, your iron is too hot.
Have wax in one hand and your iron in the other.
Carefully bring the two together and drip a line of wax down the ski.
From one end to the other so over the wax with your iron at an even speed - this will matter because too slow can burn the base and too fast can prevent the wax from sticking properly.

Step 4: Scraping
Let each of your skis cool for at least an hour until they feel back at room temperature.
Take your plastic scraper again and holding it at a 45° angle, remove any excess wax remembering to go over the side walls and edges.
You’ll know you’re finished simply when the excess stops coming up.
Step 5: Brushing
For the last step, take out your two unused brushes – the nylon and horsehair. Go over your base a few times with the nylon brush, maintaining long strokes and even pressure.
This will help clear wax from the ski’s ‘structure’ which prevents water intake.
Finally, grab your horsehair brush and do the same to polish the ski for a smoother glide.
You can’t ever do too much with the horsehair brush, so go over as many times as you like.
How to Wax Skis: Frequently Asked Questions
Q. How do I know if my skis need wax?
You’ll know if your skis need a new coat of wax when they start to have a different look or feel to them.
Discoloration of the base can come from the ski itself being worn down, but often it stems from the wax layer fading away.
Additionally, if you begin to feel slower on the slopes or notice the bottoms seem to have dried up, you’ll know it’s time to whip out the iron.
Q. How long does it take to wax skis?
Because each ski needs to dry for at least an hour before you can begin scraping away excess wax, expect the entire process to take around 2-4 hours.
Q. Is the process the same for snowboards?
Short answer – yes. The process is almost exactly the same, however when ironing wax onto a snowboard it’s easier to move in small circles as opposed to one long stroke, in order to cover the entirety of the board.
Waxing Skis: The Bottom Line

Waxing skis may seem like a daunting process at first, but after a few rounds of trial and error, it’s a simple practice to get the hang of.
Plus, following the steps above will undoubtedly benefit both you and your equipment.


Comments